For documentation on the current version, please check Knowledge Base.
Create Buffer
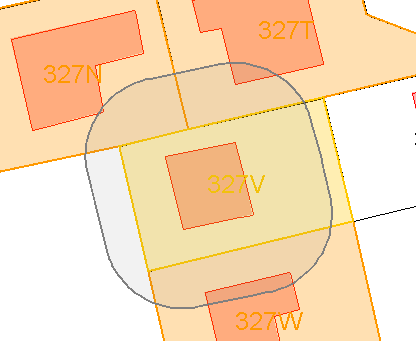
A buffer is a calculated area, a perimeter, a well defined outline around one or more existing objects.
A buffer can be saved as area or can be used to start a new well defined selection of objects.
![]() Map 2D > Tools > … > Create Buffer
Map 2D > Tools > … > Create Buffer
The Orbit Create Buffer wizard guides you through 5 steps to get your result :
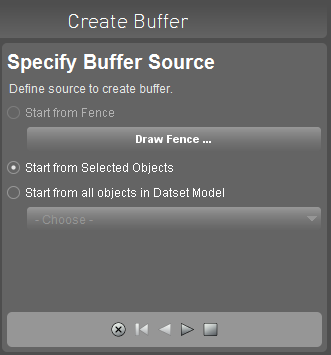
Source
Choose you source material, or the objects for which you wish to calculate a buffer area. This source material can be an arbitrary area defined by a Fence, the selected objects, or all objects from a model.
- In the first option, you can open the Fence toolbar to create or change the fence for us in this procedure.
- In the last option, select the Model from which you wish to use all objects. Note that this procedure can take quite some time depending on the amount of objects in the model.

Distance
Determine Buffer area by entering a distance (meter), either manually or based on an object attribute (only when objects are chosen as source material).
- You can optionally specify to use multiple rings (each with the same distance).
- The option dissolve objects will join overlaying buffer objects.

Create
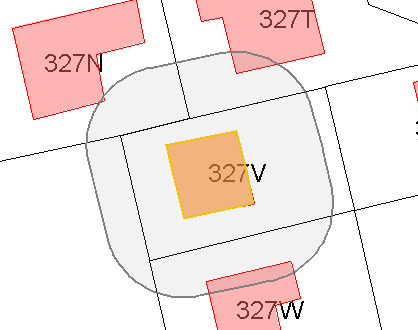
Create buffer. Press the Create Buffer button to let Orbit calculate the buffer areas. Buffers are drawn in a transparent soft grey color.
Remark : You can now choose to end the procedure. Note that the buffers are removed when the procedure is closed.

Output
You can choose to keep the calculated buffers in a format : as a new fence, as annotations, or export and save them as new dataset.
In this last case, you can choose to keep the original object's attributes with the buffers.
Click the execute button to output the buffer objects

In case of exporting a buffer as a new dataset:
- Execute: The buffer will appear as a new dataset in the datasetlist (Datasetname: buffer1).
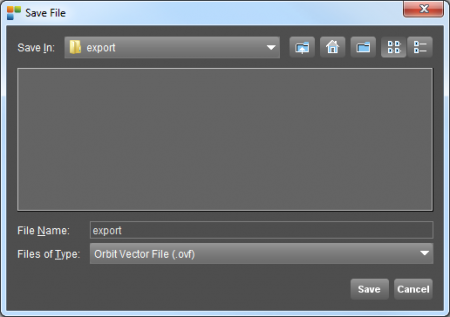
- Click the Save Dataset icon: A file browser shows up.
- Indicate a destination field and file name. The format of the dataset will be the same as the source dataset.
- Save the dataset.
Select
In this last step you can choose if you wish to select objects within the buffer area:
- Select objects that are inside or outside the buffer area.
- Select the amount of buffer rings you want to use to make a selection.
Select objects from:
- All visible datasets in Orbit
- The selected dataset
- A chosen dataset; pick one in the a drop-down list.
Click the select button to make the selection.