For documentation on the current version, please check Knowledge Base.
Preparation of Visionmap Imagery
In case of the use of the Visionmap A3 imagery the next preparations should be taken before using the wizard.
The Visionmap A3 Imagery
The next dialog shows how the image provider sets the imagery avaibale.
The dialog shows the contents of one image folder. One folder contains 1 file for each of the following extensions: .dat, .sup, .tif, .xml :
TIF to OMI format conversion
For reasons of fast access (multiresolution) and compression, the tif files should be converted to omi format.
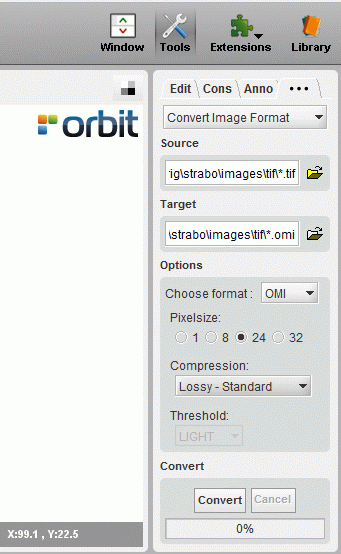
To perform the conversion, use the OrbitGIS Toolbox (Tools menu).
This toolbox can be used to convert files that are located even in subfolders of the given source folder, as you can see in the next dialog. Even when the tif files are located in subfolders (or deeper) of the folder “original images”, all the tif files will be converted. The new omi file will be placed next to the corresponding tif file:
Move the TIF files
Move all the tif files to another separate folder using Microsoft Explorer file and copy functionalities.
This can be done by searching for all the tif files starting from the “orginal images” directory, and afterwards moving all the found tif files to another folder.
Move the OMI files
Select in the same way all the omi files and move them out of their individual image folder, and put them one step higher: directly under the folder “original images”.
Start the Strabo project wizard
At this stage in the workflow for Visionmap imagery, first select the correct camera.
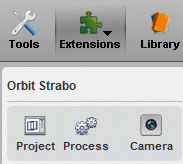
Open the Camera dialog by pressing on the Camera button:
The next dialog shows what camera parameters must be set:

There is no need to measure fiducial marks nor to set the distortion parameters.
These parameters will be solved automatically using the metadata file.
Secondly create a new Strabo project and fill in the first Step “Project Settings”.
The next dialog shows an example of how the project parameters can be set:
Please select the correct CRS (Projection System).
Wizard Step 2 "Exterior Oriëntation"
Select the option “Convert and Import from Visionmap”.
This function transforms the information provided by Visionmap into the necessary EO data for use in the Strabo project definition:
Pressing the button “Select folder” opens the next dialoag:
- Provide the directory containing the images: e.g. like “…\original images” in the examples above.
- CRS used by the visionmap data: select your local project system.
- The directory where the data should be written: When pressing on the “Apply” button the software will inspect all the necessary Visionmap metadata files to create an EO (Exernal Oriëntation) datafile. Please set here the folder where you want to have this file saved to.
- CRS that should be used in the photolist file: select your local project system.
After pressing the “Apply” button, the software will create the EO datafile called “photoListStrabo.txt” and will enter this file in the open text widget as follows:
Now proceed with the Strabo project creation by presing on the “Apply” button.
The number of images will be displayed in a text dialog.
See Step 3: Image Files.
Wizard Step 3: Image Files
Because all images are at this moment ready and transformed into OMI format, the “Prepare Images” button will now easily do the rest for you.
In our example folder “original images”, you will have the files ready as displayed in the next dialog: all OMI files together with the a subfolder for each image containing the metadata files:
After using the “Prepare Images” dialog in wizard step 3 (with the correct directory and format selection set to OMI), all omi files are copied back into their folder, and some other metadata files necessary for the Strabo functionality will be created like in the following dialog:
Link
The next thing to do is executing the “Link”.
See also Step 3: Image Files for how to use the “Link” function.
This function will link the defined images to the physical image files.
Further steps
It can be necessary in some cases to check the scan direction.
See Step 4: Photo Settings to set the scan direction for the A3 images according to this flight.
This concludes the creation of a Visionmap Imagery Strabo Project.
After this you can forward with the selection of stereo couples etc….


