
Table of Contents
Fence Editor
What does it do ?
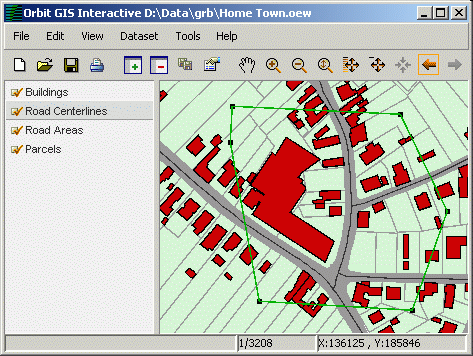
Use the Fence to describe a perimeter for diverse purposes : select objects within, hide area outside, use as source for a buffer or export or other functions. A fence is a single assistance object that can consist out of several parts (each part is an area figure).
The Toolbar
Open the toolbar by selecting the menu option Tool → Fence… .

Creation tools
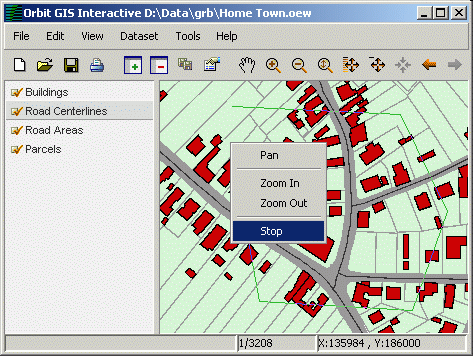
You can create a fence by using the add part tool 1)
You can clear the fence by using the remove fence tool 2)
Edit tools
The fence behaves as an area object : you can add  .
.
Use the undo button 3) to undo the last change.
You can calculate parallels to the fence using the  buttons. The last one requires the entry of a fixed distance, while the first one calculates a parallel through a clicked point.
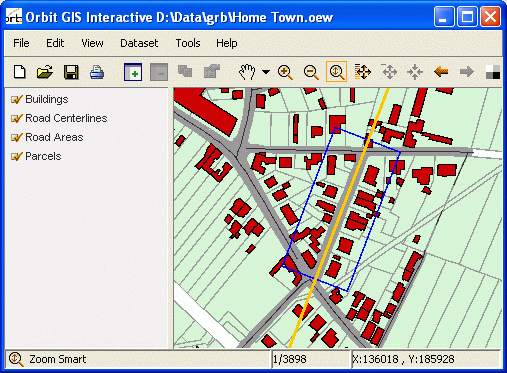
To create a rectangular Fence with a specific orientation, use a Construction Line to determine the orientation, then use the  button to draw a rectangle.
Visibility

You can switch the visibility of the Fence on/off. Note : switching off does not clear the fence. Fence visibility is also applied when printing.
You can zoom and focus to the fence using the  button.
Hide Area

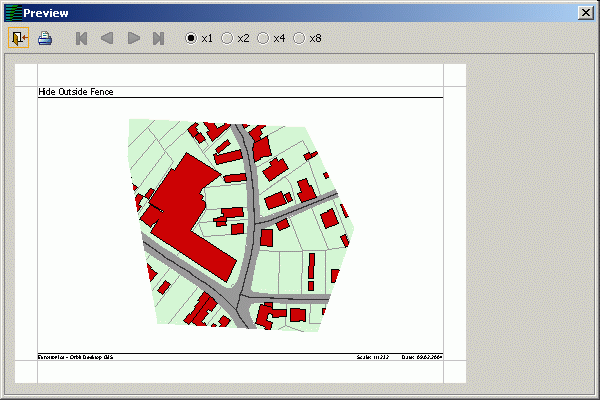
You can hide the map outside the fence area and simulate an extraction of the map view. This is also applied when printing.

Select objects
 Click this button to select all objects within the current fence. This function is similar to the Select Object by Area function.

