This is documentation of an archived release.
For documentation on the current version, please check Knowledge Base.
For documentation on the current version, please check Knowledge Base.
Flightplan Wizard : Define Area to Cover
Defining the area to cover is done in a few steps :
- Move to the area in interest
- Draw a “construction line” that can be used as strip orientation.
- Define an area to fly.
Define Strip Orientation
Define the strip orientation by using the construction line function.
Create the line by selectiong two points.
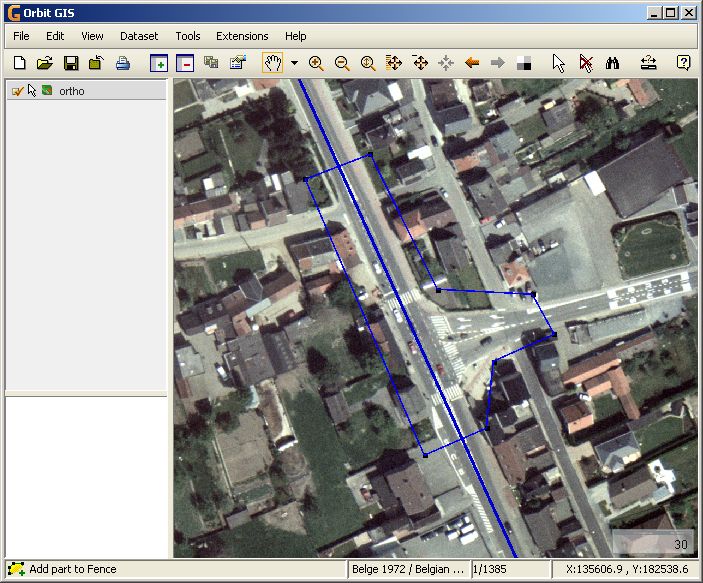
As a result you will see a blue line representing the strip orientation:
Define an Area to fly
Irregular Areas
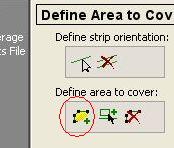
To define an irregular area, press the first button and define the closed area by selecting different points:
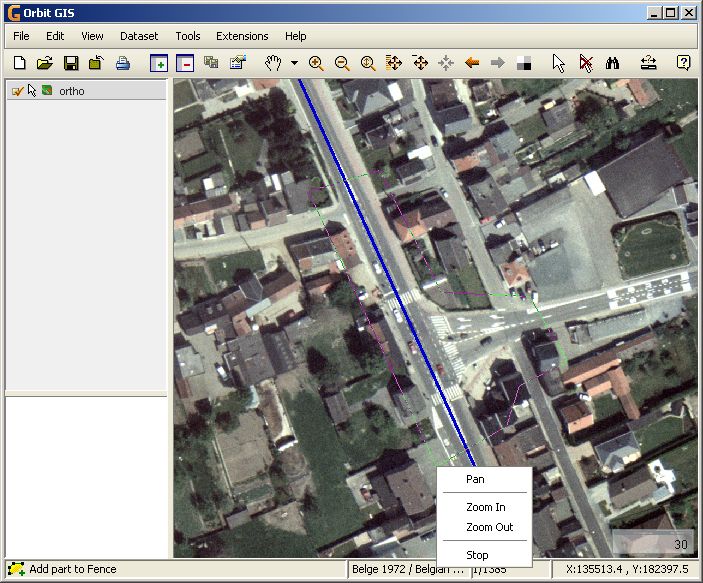
To finish the creation of the area press the right mouse button on the last point, and select 'Stop' in the mouse menu:
Rectangular Areas
To define a rectangular area:
- press the second button and define the area by creating a rectangle that will be exactly parallel to the given strip orientation.
Select the first point and drag the mouse while the left mouse button is pressed to define the rectangle.
If you made a very small area by mistake, please clear that area first before continuing the creation of a new area. It is prohibited to have more than one area defined for further calculations.
Clearing
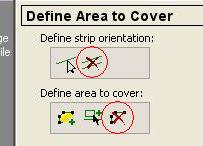
To recreate the strip orientation or coverage area use the next buttons to delete
It is especially important to remove all areas when re-creating the area to fly. Having multiple areas will lead problems because they will all be used. When areas overlap, they effectively create gaps.
Last modified:: 2019/03/25 11:36


