This is documentation of an archived release.
For documentation on the current version, please check Knowledge Base.
For documentation on the current version, please check Knowledge Base.
Make a transparent image legend
When combining multiple images into one image resource it can be required to define a transparent color for each individual image before combining all images.
If the individual images aren't rectangular tiles and if they are overlapping each other because of their shape or applied orientation, “border overlaps” will be disturbing.
Multiple image resources can be processed into one Orbit multiresolution image (*.omi) using the Make Multiresolution Image tool or can be combined into one Orbit Composite Resource (*.ocr).
| No Transparent Color | White Transparent Color |
|---|---|
 |  |
Steps to make a transparent image legend
- Add image the resources to Orbit
Add all your image files to your workspace via drag and drop or using the resource library.
If you use the Resource Library, do not use remote resource (EOS or Web), local access is required to be able to edit the dataset legend. - Edit dataset legend
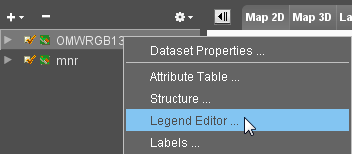
- Open the dataset legend editor via the right click dataset context menu.
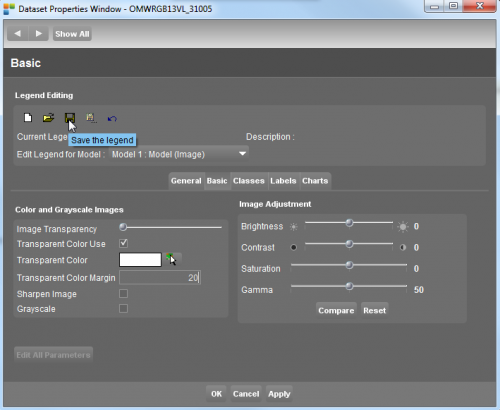
- Go to Basic, Basic Appearance
- Flag the “Transparant Color Use” check box
- Set the “Transparent Color”, the image border color that should be transparent. Most probably this will be white.
- Set the “Transparent Color Margin”, most probably 10 will be ok.
- Save your legend using the save icon in the legend editor top toolbar.
An Orbit legend file (<resource name>.olg) will be created within the same directory.
- Repeat these steps for all images or copy and rename the above created legend file for all resource image files.
Last modified:: 2019/03/25 11:36